
Effective positional fluidity isn’t about giving players freedom; it’s about implementing a rigorous system of reciprocal movements that makes man-marking tactically obsolete.
- True unpredictability stems from structured, rule-based rotations, not from random, chaotic interchanges.
- The tactical advantage lies not in a single “free” player, but in the collective’s ability to systemically balance the space that player vacates.
Recommendation: Shift coaching focus from instructing individual movement to teaching systemic relationships, positional triggers, and compensatory actions.
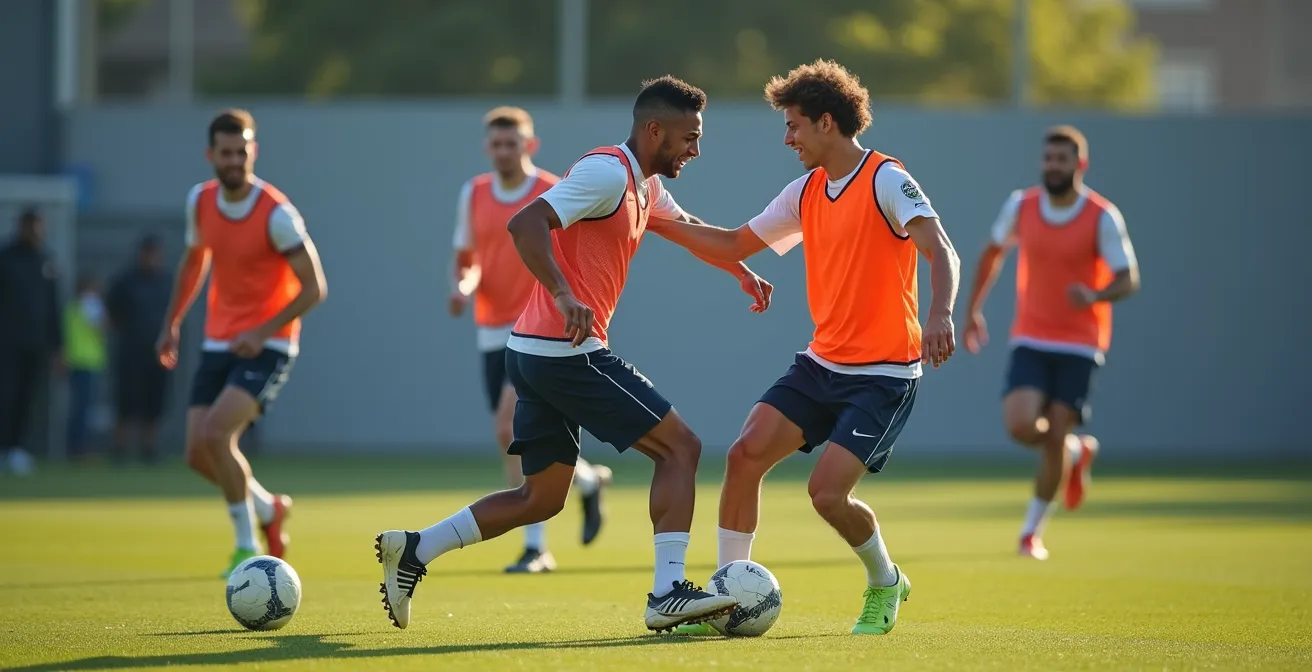
The scene is familiar to any observer of the modern game: a rigid man-marking defender is dragged into an unfamiliar zone, a pocket of space opens up, and an attacker exploits it in a flash. The common analysis points to “clever movement” or “player intelligence.” While true, this observation misses the deeper, more revolutionary truth. The prevailing wisdom suggests that encouraging players to roam and interchange is the antidote to rigid defensive structures. However, this often leads to disorganisation and defensive vulnerability, a chaotic mess rather than a tactical masterstroke.
The fundamental misunderstanding lies in equating fluidity with freedom. True tactical fluidity, the kind that systematically dismantles disciplined man-marking schemes, is not born from anarchy. It is the product of what can be described as ‘structured chaos.’ This is a system where every player’s positional freedom is governed by a set of principles and the compensatory movements of their teammates. The goal is not merely to confuse a defender, but to present them with a constant series of impossible choices, where every decision they make is inherently wrong. This approach turns the defensive art of man-marking against itself, using its core logic to create unsolvable dilemmas.
This article will deconstruct the mechanics behind this tactical evolution. We will move beyond the surface-level observation of “movement” to explore the underlying system of reciprocal logic, positional triggers, and defensive geometry that allows a team to attack with fluid unpredictability while maintaining its structural integrity. We will analyse specific roles, tactical manoeuvres, and the crucial balance between specialist skill and utility, providing a framework for understanding how to implement these complex ideas on the pitch.
This exploration provides a detailed roadmap for understanding how the most advanced tactical systems operate. The following sections break down the key components, from individual roles to collective strategies, that define this modern approach to football.
Summary: Deconstructing Fluidity to Overcome Man-Marking
- Why the “Free 8” Role Is the Hardest Position to Mark?
- How to Rotate Positions Without Losing Defensive Structure?
- Specialist Role or Utility Player: Which Is More Valuable for a Squad?
- The Positioning Mistake That Leaves the Team Unbalanced During an Overload
- When to Swap Positions with a Teammate to Drag a Defender Out?
- How to Implement Inverted Full-Backs Without Exposing the Flanks?
- Regista or Trequartista: Which Playmaker Role Unlocks Defenses Better?
- How to Find Pockets of Space Between the Lines Against a 4-4-2?
Why the “Free 8” Role Is the Hardest Position to Mark?
The “Free 8” is arguably the genesis of the modern man-marking dilemma. This is not a traditional box-to-box midfielder nor a static number 10; it is a fluid creator who operates between the lines, drifts into wide areas, and makes late runs into the box. Their primary function is to exist in the blind spots of the opposition’s defensive structure. When a marker is assigned to a Free 8, they are immediately faced with a fundamental conflict: follow the player and vacate a critical central zone, or hold their position and pass the player on, risking a breakdown in communication and allowing the attacker to receive the ball unmarked.
This role’s effectiveness is rooted in its calculated risk. By vacating a central midfield position, the Free 8 deliberately creates a void. A well-drilled opponent might see this as an opportunity to exploit the space on the counter-attack. Indeed, a tactical analysis from FourFourTwo reveals that vacated midfield pockets are exploited in 41% of counter-attacks where they appear. However, for a team practising positional play, this void is not a weakness but a baited trap. The space is meant to be filled by a rotation—a deeper midfielder stepping up, a full-back inverting, or a forward dropping deep.
The marker’s conundrum is therefore not just about tracking one player. It’s about trying to solve a dynamic, multi-faceted problem in real-time. If the marker follows the Free 8, they are pulled out of shape, creating a gap for a ‘third man’ run. If they stay, the Free 8 becomes the free player who can dictate the next phase of play. This role is so difficult to contain because it doesn’t just challenge a defender’s individual discipline; it tests the entire defensive system’s communication, cohesion, and ability to adapt to fluid, unpredictable threats.
How to Rotate Positions Without Losing Defensive Structure?
The freedom of a “Free 8” is only possible within a system of disciplined, reciprocal movements. If one player moves out of their designated zone, another must move to compensate, ensuring the team’s defensive geometry remains intact. This is the essence of structured rotation: it appears chaotic to the opposition but is underpinned by a strict set of rules. The key is to maintain balance, particularly during the transition from attack to defence. No matter how fluid the attacking movements are, a stable defensive foundation must always be present.
A primary principle is maintaining numerical superiority or parity at the back. Many systems ensure that three or even four players form a secure rest-defence structure, even when a full-back has advanced or a centre-back has carried the ball into midfield. This is where reciprocal movements become critical. If a left-back inverts into the midfield, the left-sided central midfielder or winger must adjust their position to cover the wide channel, preventing a simple long ball from exposing the flank. This isn’t improvisation; it’s a pre-coached pattern.
A prime example of this principle in action is seen in Pep Guardiola’s teams. Manchester City exemplifies structured rotation by using inverted full-backs and fluid midfield positioning. As noted in a sophisticated analysis using advanced tools, their system often maintains three players in the last line while allowing dynamic movement ahead of them. This structure ensures they are always prepared for a turnover, with players positioned to immediately counter-press or recover their defensive shape. The rotation is not for movement’s sake; it is a tool to create attacking advantages while preserving defensive solidity.
Specialist Role or Utility Player: Which Is More Valuable for a Squad?
The debate between the value of a specialist versus a utility player is central to building a squad capable of fluid positional play. A specialist, like a world-class winger who excels in 1v1 situations or a clinical number 9, offers a decisive, often game-winning, quality in specific moments. A utility player, capable of performing effectively in multiple positions, provides the tactical flexibility that allows a coach to make in-game adjustments and implement complex rotational systems. So, which is more valuable?
In the context of confusing man-marking systems, the answer is nuanced. A system of fluid roles does not mean every player must be a jack-of-all-trades. Rather, it requires players with a high tactical IQ who understand the principles of space, timing, and structure. The utility player is the enabler of this system. Their ability to seamlessly slot into different roles—as an inverted full-back one moment and a holding midfielder the next—is what gives the system its systemic unpredictability. They are the glue that holds the structured chaos together. The following analysis from Total Football Analysis provides a clear breakdown of their contrasting values.
| Criteria | Specialist Player | Utility Player |
|---|---|---|
| Predictability | High – opponents can prepare specific counters | Low – creates systemic unpredictability |
| Peak Impact | Very high in specific situations | Moderate but consistent across scenarios |
| Tactical Flexibility | Limited to specific formations | Enables multiple systems and in-game adjustments |
| Market Value | Premium for elite specialists | High demand for quality utility players |
| Best Context | Open, transitional games | Against defensive blocks |
However, the specialist remains indispensable. Their role is to be the ultimate beneficiary of the space created by the system’s fluidity. As tactical analyst Michael Cox notes, the highest value is found not in choosing one over the other, but in their symbiosis. In his analysis for The Athletic, he states:
The highest value lies in the combination – utility players who enable and create space for the specialists to be decisive in the final third.
– Michael Cox, The Athletic – Tactical Analysis
The Positioning Mistake That Leaves the Team Unbalanced During an Overload
Creating an overload on one side of the pitch is a classic tactic to break down a defence. By concentrating players in a specific zone, a team can achieve numerical or positional superiority to create goal-scoring opportunities. However, the pursuit of this advantage carries a significant risk: positional imbalance. The most common mistake is over-commitment. When too many players are drawn to the ball-side, the team becomes predictable and, more dangerously, extremely vulnerable to a quick switch of play or a counter-attack upon losing possession.
The critical error is neglecting the ‘weak side’ of the pitch. If all attacking players shift to the right flank, a single, intelligent long pass to the opponent’s left winger can bypass the entire press and leave the defence exposed in a 1v1 or 2v1 situation. Another frequent mistake is redundant movement, where two players make the same run and occupy the same space, effectively removing one from the play and making the team easier to defend against. A successful overload is not just about numbers; it’s about occupying different horizontal and vertical zones to stretch the defence and create multiple passing options.
This is where the principle of ‘rest-defence’ comes into play. While overloading, the team must consciously position players not involved in the immediate attack to prepare for a turnover. This means the deepest midfielder must hold a central position, and the weak-side full-back must stay tucked in, ready to defend the space behind the defensive line. Every player’s position should be based on answering the question: “What happens if we lose the ball now?” Without this forward-thinking defensive mindset, an attacking overload can quickly become a defensive catastrophe.
Your Tactical Audit: Preventing Overload Imbalance
- Always maintain at least one player on the weak side to prevent a complete defensive shift and offer an outlet for a switch of play.
- Ensure the deepest midfielder remains centrally positioned to form the apex of the counter-pressing structure and shield the defence.
- Scan for and eliminate redundant movements where multiple players occupy the same vertical or horizontal channel without purpose.
- Maintain vertical compactness by ensuring no more than 35 meters between the defensive line and the forward line to prevent gaps.
- Constantly assess positioning with the question: “What is our defensive shape if we lose the ball right now?”
When to Swap Positions with a Teammate to Drag a Defender Out?
A positional swap is one of the most direct methods to disrupt a man-marking scheme. It’s a simple exchange of roles between two or more players, designed to create a moment of hesitation or a communication error in the defensive line. But a successful swap is not random; it is a calculated action initiated by a specific positional trigger. Executing a swap at the wrong time can be ineffective or even detrimental, leading to a loss of team structure. The ‘when’ is just as important as the ‘how’.
One of the most effective triggers is the defender’s own focus. A marker who is intensely ball-watching is a prime target. As their attention is fixed on the ball carrier, a player can initiate a swap with a teammate from the marker’s blind side. For example, a winger can drift inside while the number 8 runs into the wide channel. The defender, focused on the ball, may be a split-second too late to react to the inward run, creating the separation needed to receive a pass in a dangerous area. Another key trigger is a static defensive line. Against a flat, stationary back-four, a sudden, explosive rotation—like a false 9 dropping deep while a midfielder sprints in behind—can shatter the defensive cohesion.
This micro-movement is the start of a tactical sequence. It’s a subtle shift of weight, a disguised run, the first step in a pre-planned manoeuvre designed to break a defensive line.

High-intensity pressing can also serve as a trigger for positional exchanges. Teams like Liverpool under Klopp have mastered using real-time analysis to identify optimal pressing triggers. These moments of intense, coordinated pressure often force defenders into hurried decisions, creating opportunities for offensive players to swap positions and exploit the resulting chaos. The swap becomes part of the attacking transition, turning a defensive action into the start of a new offensive threat.
How to Implement Inverted Full-Backs Without Exposing the Flanks?
The inverted full-back is a hallmark of modern positional play, but its implementation is fraught with peril. When a full-back moves from the flank into central midfield, they can help create a numerical advantage and control possession. However, they also vacate the wide defensive area, a space that opponents are eager to exploit with a quick switch of play. Successfully implementing this role is not about the full-back’s movement alone; it’s about the coordinated adjustments of the entire team to secure the vacated space.
The solution lies in creating a dynamic, rotating defensive system. The flank is not left empty; it is covered by a different player. This responsibility typically falls to the ball-side winger, who must track back, or the nearest central midfielder, who shuffles across to cover the channel. This creates a defensive triangle or diamond that shifts and adapts based on the ball’s position. This system requires players with exceptional tactical intelligence and a high work rate, as they must be able to read the play and anticipate their compensatory defensive duties.
Furthermore, the inverted full-back’s role is as much defensive as it is offensive. As a tactical expert from Total Football Analysis Magazine explains, their central position is strategic for defensive transitions. The expert states: “The inverted full-back’s position is not just for possession; it places them perfectly to immediately press the opposition’s creative players when possession is lost.” By being in the centre, they are ideally placed to counter-press the opponent’s number 10 or 8, stifling a counter-attack at its source. For safe implementation, several key rules must be followed:
- Form a defensive triangle with the nearest Centre-Back and a covering midfielder (like a number 8) to control the half-space.
- Ensure the goalkeeper is positioned aggressively, acting as a ‘wide sweeper’ to cover the space behind the defensive line.
- Apply a ‘ball-side’ rule, meaning the full-back should primarily invert only when the ball is on their side of the pitch, reducing the distance for recovery.
- Position the inverted full-back for immediate counter-press access to the opposition’s key creative players upon turnover.
- Maintain clear recovery sprint lanes back to the traditional defensive position should the system break down.
Regista or Trequartista: Which Playmaker Role Unlocks Defenses Better?
In the quest to dismantle a man-marking system, the choice of playmaker archetype is critical. Two classic Italian roles, the Regista and the Trequartista, offer contrasting solutions to the same problem. The Regista is a deep-lying playmaker, operating in front of the defence. Their primary weapon is their passing range. By dropping deep to receive the ball, they pull opposition midfielders out of their compact shape, creating vast pockets of space between the midfield and defensive lines for runners to exploit.
The Trequartista, on the other hand, is the quintessential “player in the hole.” They operate in the final third, finding space between the opposition’s midfield and defence. Their skill lies in close control, quick combinations, and killer passes in tight areas. While the Regista creates space from deep, the Trequartista occupies and manipulates the space that already exists in advanced areas, often pulling defenders high to create room behind them. The choice between them depends heavily on the opposition’s defensive strategy.
A Regista is particularly effective against high-pressing teams. Their ability to resist the press and switch play can bypass the opponent’s first and second lines of pressure entirely. A Trequartista thrives against deep, compact low blocks. Their creativity and ability to unlock a defence with a moment of individual brilliance are invaluable when space is at a premium. The following tactical comparison, based on data from comprehensive guides on football tactics, clarifies their distinct functions:
| Aspect | Regista | Trequartista |
|---|---|---|
| Optimal Opposition | High-pressing teams | Deep, low blocks |
| Space Creation Method | Pulls midfielders deep, creates space ahead | Pulls defenders high, creates space behind |
| Primary Operating Zone | Deep midfield, in front of defense | Between the lines, final third |
| Key Skills Required | Long passing range, press resistance | Close control, quick combinations |
| Best Forward Partners | Runners who attack space (Haaland type) | False 9s who drop deep |
Ultimately, neither role is inherently “better.” The most sophisticated teams often blend the qualities of both, using a deep-lying midfielder with excellent distribution alongside a creative attacker who drifts between the lines. The goal is to create multiple, simultaneous threats from different vertical zones, making it impossible for a man-marking system to contain both without completely losing its shape.
Key Takeaways
- True tactical fluidity requires a system of strict, reciprocal rules, not just individual freedom of movement.
- Every offensive rotation must be balanced by a compensatory movement to maintain defensive geometry and prepare for transitions.
- Player roles are defined by their dynamic interactions within the system, not by a fixed position on a teamsheet.
How to Find Pockets of Space Between the Lines Against a 4-4-2?
The 4-4-2 formation, with its two flat banks of four, is often seen as a rigid and defensively solid structure. However, its very rigidity is its greatest weakness when faced with a fluid, positionally-aware opponent. The key to breaking it down lies in exploiting the spaces that are inherent in its design: the channels between the wide midfielder and central midfielder (the half-spaces) and the vertical gap between the midfield and defensive lines.
A man-marking 4-4-2 is particularly vulnerable. If attacking players position themselves intelligently within these gaps, the defenders are faced with a jurisdictional crisis. Who is responsible for the player in the half-space? Is it the central midfielder, who would be pulled out of position, or the wide midfielder, who would have to abandon the flank? As modern tactical analysis demonstrates, teams exploit this dual half-space vulnerability by positioning players between opposition lines simultaneously. This creates multiple dilemmas that the rigid two-line structure struggles to resolve without losing its fundamental shape.
The goal is to create a 3v2 or 4v3 overload in the central areas. This can be achieved in several ways: a forward dropping deep (a ‘false 9’), a number 8 pushing high, or even an adventurous centre-back carrying the ball into midfield. By pinning the opposition full-backs wide with high wingers, a team can stretch the 4-4-2 horizontally, enlarging the channels for these movements to occur. The key is the timing and coordination of these movements. To systematically break down a 4-4-2, a team should focus on the following actions:
- Position attacking midfielders simultaneously in both half-spaces, between the opposition’s wide and central midfielders.
- Use high and wide wingers to “pin” the opposition full-backs, stretching the defensive line and creating larger channels to attack.
- Create a 3v2 central midfield overload by using a false 9 dropping deep or a centre-back advancing with the ball.
- Execute rapid, disguised vertical movements between the two flat lines of four to disrupt their cohesion.
- Time runs to exploit the structural gap that appears when an opposition striker drops to defend and a midfielder has to push forward to press.
The principles discussed are not isolated tricks but components of a holistic footballing philosophy. Moving from theory to practice requires starting small. Instead of attempting a full systemic overhaul, coaches should begin by teaching a single reciprocal movement—for instance, the relationship between an inverting full-back and a covering midfielder. By building these small partnerships, the foundation for a truly fluid and unpredictable system is laid, one that can organically evolve to render any man-marking scheme obsolete.